
Working with Paper Layers on your Card
This is one of my favorite design elements. They add so much, that I probably spend most of my planning time to choose my paper layers.
When I was a new card maker, my typical card had these layers:
- Card base
- 1 or 2 rectangular mats
- Top layer, stamped
There’s nothing wrong with this design. In fact, I still rely on it often. But it’s fun to work with different designs, too.
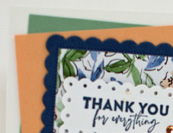
Take a look at today’s project.
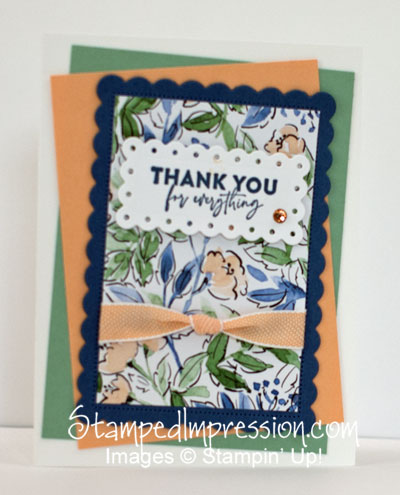
This card has a white card base, 3 solid cardstock layers, a Designer Series Paper layer, a stamped die-cut layer and a ribbon.
The noteworthy element however, is the fact that the paper layers are laid out at angles. The green (Mint Macaron) layer is tipped to the right, the yellow layer (Pale Papaya) is tipped to the left, and the remaining layers are tipped slightly to the right.
Why tip the layers?
- It’s easier than ensuring that the margins are all perfectly up-and-down.
- It’s fun!
- It adds a casual look to the card design.
So, when you need a quick card, this is a good design approach to use.
Choosing colors
The Hand Penned 12″x12″ Designer Series Paper has a bunch of colors in it. I pulled out the blue, green and yellow for my card. I could have chosen any number of color combinations. But why struggle with that when the paper does the work for you?
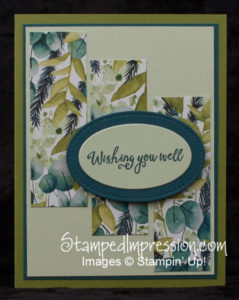
Another design using paper layers
Looking for another option for layering paper? Check out this card. Click on the photo to see the original blog post.
Playing with cardstock and paper layers is just plain fun.
If you want to learn more about working with layers, then look out for information on my next online class. We’ll explore some different designs using cardstock layers.