
How to stamp cards efficiently. Are you kidding me?!?! What does efficiency have to do with something that we do for pleasure, even with passion? Well, lots, but only at certain times.
Does this ever happen to you? You send someone a card. Or you show someone a card that you made. And then they ask, “Can you make me some cards?” Or they ask, “Can you make me some invitations?” How do you say anything but “Yes” – this is pure joy. You have the chance to make a bunch of cards!
And then the reality sets in. It’s a bunch of the same card. It begins to feel a little boring. Maybe even a little like work.
Okay, enough negative talk. I make cards and invitations for all sorts of occasions. And it’s not boring. Maybe a little work, but definitely not overwhelming. This past holiday season I made about 1,100 cards – and none of them were for me. Not for me to send, not for my blog, not for swaps, not for my family to send.
So what’s the trick? I’ll start with the typical tips, and then offer some special pieces of advice that are not commonly known.
Start with your sample. Record every product used to make it. Measure and record each piece of cardstock, ribbon, etc. Then keep your information handy.
Every card I make is recorded in a notebook. While working on a project, the notebook remains open on my work table.
- Work in assembly line fashion. Complete one task for all the cards, and then move on to the next task.
- Start with cutting. Cut all cardstock that you can.
- If there is any printing, then print on the cut cardstock.
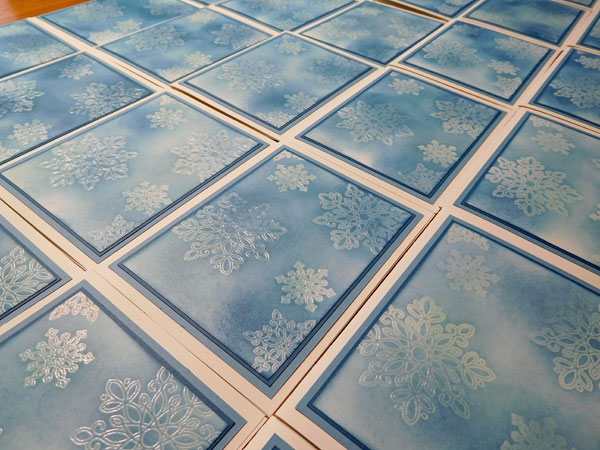
- Stamp all cardstock. Be sure to add the Stampin’ Up! copyright stamp, as per the Angle Policy. (Ask me for details if you don’t know about this.)
- Assemble all layers.
- Add embellishments at the end, or as late in the process as possible.
Simple and straightforward.
If you have a large number of cards to make, once the cardstock is cut, break the project into batches.
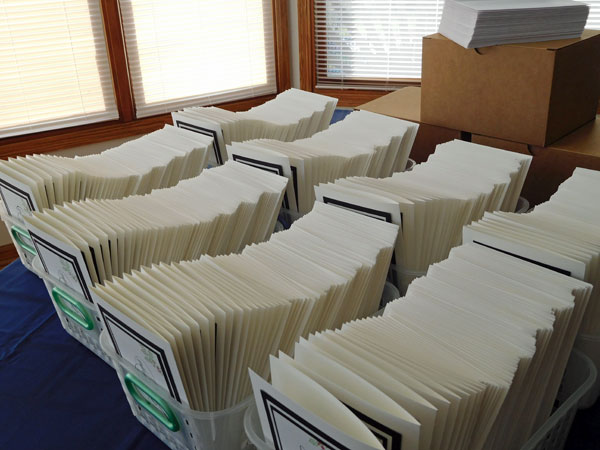
Cutting all my cardstock at once, keeps errors to a minimum. If you’re constantly cutting different sizes, it’s easy to make a mistake. Finishing the rest of the process in batches reduces muscle fatigue and keeps the work more “interesting”. 40 is a good number for me. I typically stamp and assemble my cards in batches of 40.
But the most important task is to track the measurement of your cardstock and any other items that need to be “cut”. When I set up my paper trimmer to cut cardstock, I measure the first cut piece, against my sample, to confirm that it’s the right size. No way do you want to cut 100 pieces of cardstock, only to find that each is 1/4″ too short. (Ask me how I know!) :-\
I highly recommend that you buy a little extra product, such as cardstock and embellishments. I typically buy an extra package of each color of cardstock that is cut, but not stamped. I also buy an extra 10% cardstock of each color that is stamped. Do I need that much extra? No. But I always get a sick feeling in my stomach if I don’t see that product ready “just in case.”
By the way, my “worst” job had 3% errors. I’m usually below 1%.
So, that’s it; Are you ready to make those baby shower invitations? How about next year’s holiday cards?
I think it can be very rewarding. Even fun.
What do you think? If you make batches of cards, what are some of your best tips? Leave a comment, and share with the rest of us!
Happy stamping!
Hi…..the number of cards you make is a bit overwhelming!!!! You certainly need to be organized!
When the card stock arrives for a large order, I always feel overwhelmed. In fact, I usually need to take an entire day, before I can face opening the boxes and counting the product delivered. Sometimes, I’ll even take one more day before I start to cut card stock. It helps my head, so I factor that into my timeline.
And, you’re right, organization helps. Taking it one step at a time, makes the whole project manageable!
Thanks!