I'm a great believer in the Stamp-A-Ma-Jig. I believe it's the greatest stamping tool ever. I use it regularly to position my stamped images EXACTLY where I want them on my projects. But I recently came across a trick to do this. There's a different way to position your stamped images. Take a look.
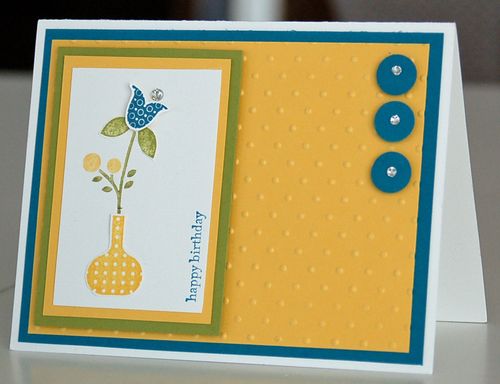
This card used the Bright Blossoms and Teeny Tiny Wishes stamp sets. I stamped the vase, flower, stem and leaves on pieces of Whisper White card stock. Then I cut out each one and glued it to a rectangular Whisper White card stock base. Now, this may seem like a lot of work to some. (I prefer NOT to cut out stamped images.) However, for some people this is the ideal solution to exact image placement!
For those who don't like to cut, you can ink the rubber with Stampin' Write Markers and use the Stamp-A-Ma-Jig for place the rubber on the card stock.
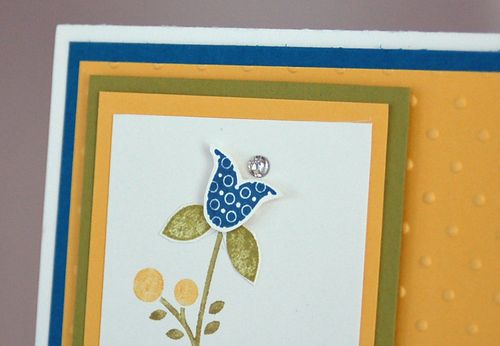
Getting back to the card design … I punched three 1/2" circles, placed a Basic Jewel Rhinestone in the center of each, and attached it to the card base with Stampin' Dimensionals. The main matted image is also attached to the card front with Stampin' Dimensionals. Finally, I attached the main Island Indigo flower in the vase with a Stampin' Dimensional, just to give it that extra pop.
By the way, I used the Big Shot with the Perfect Polka Dots embossing folder on the main Daffodil Delight card stock.
So, what do you think? Stamp-A-Ma-Jig or cut-out? What works best for you? Stop by my facebook business page and vote!


Well, don’t give up that technique either! I do it, too!
You mean I can’t aim and guess? Darn it!