
Birthday Pop-Up Card! Has there ever been a design more fun than this? I don’t think so! Let’s take a look.
Overall Card Design
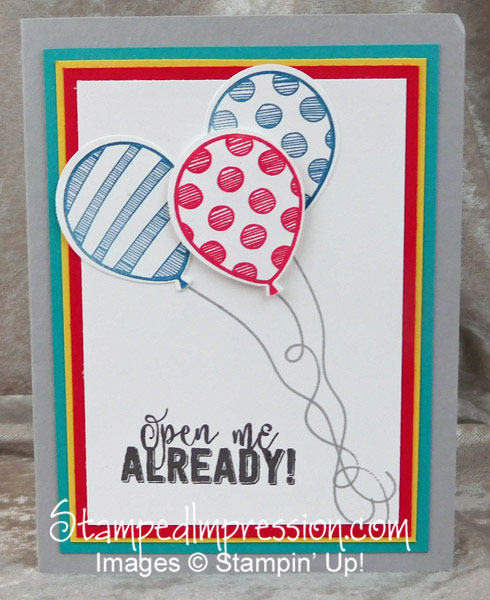
Well, this starts out kind of like lots of birthday cards. Bright colors – Real Red, Daffodil Delight, Bermuda Bay. Then there are balloons a-plenty – each is stamped and punched out.
But the sentiment is definitely energetic: “Open me ALREADY”. Hmmm. Does it mean to open the attached present or the card? Let’s open the card to find out. Wait. There’s definitely a surprise on the inside…
Birthday Pop-Up
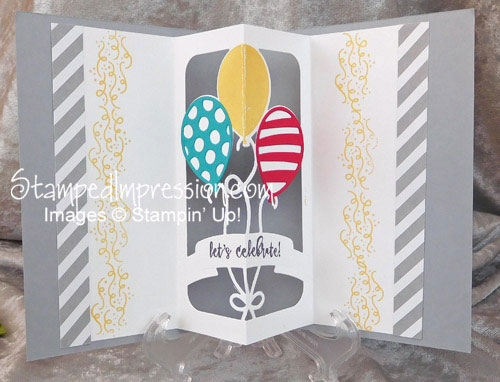
Ahhh, there it is. A pop-up of balloons. How festive!!
How to Easily Create the Pop-Up
If you examine the pop-up, it seems pretty intricate. How in the world can you do this quickly? I mean, it’s great to create a card that looks special. It doesn’t really matter how long it takes or how much effort it requires. But using tools to make the job faster and easier is an added bonus. That’s just what I did here.
The Balloon Pop-Up Thinlits dies are new in the Occasions catalog. I have balloon stamps. I have the Balloon Bouquet Punch. (In fact, you can see a card I made with the balloon stamps and punch by clicking here.) But I never bought a pop-up die before. I never thought it was worth the money.
Until the Balloon Pop-Up Thinlits. They just called out to me. And stood up tall! I just love them. Sometimes, I stamp a balloon image over the die-cut shape, like I did with the middle Daffodil Delight balloon. Sometimes, I die-cut patterned balloons and attached them over the die-cut shape of the pop-up, as I did with the Bermuda Bay and Real Red balloons.
I mean, is this festive?
The die-cut shape is scored, so that you can easily attach it to the inside of the card. Here’s how you do it.
- Fold the die-cut pop-up along the 3 scored lines, making a zig zag.
- Apply adhesive to the back quarter.
- Place die-cut on the inside right side of card.
- Fold up die-cut and apply adhesive to front quarter.
- Carefully, close over card front.
- Gentry rub your hand along the front of the closed card, to make the adhesive “take” well,
That’s itI
Let’s See the Products I Used
When you look over the supplies list, I omitted the paper trimmer, the bone folder, the different adhesives. If you want more information on these, then just holler!
Also note that if you buy bundle containing both the Balloon Adventures stamp set and the Balloon Pop-Up Thinlits Dies, then you’ll save 10%. By the way, the bundle costs $53, so it qualifies you to choose 1 FREE Sale-A-Bration item! Woo-hoo!!


Birthday Pop-Up Card. It’s the BEST!!!